The following article presents how to add our Marketing Automation solution for Woocommerce stores.
Note that module is tested with Woocommerce 3, but should work with 2 as well. If there are any situations you see errors or events not being sent correctly, please contact us and we will try to fix it asap.
Our Marketing Automation module for Woocommerce is called VTMarketing (the reason is has this VT prefix is that is used by different companies and so it uses a generic name)
Download Marketing Automation module for Woocommerce
First download the module from here: https://vtcdn.net
Install module to your Woocommerce store
After downloading you will have a ZIP archive. At this moment you have 2 ways of installing it: through WordPress admin panel, or through FTP, if you have access.
1. Install VTMarketing through WordPress Admin Panel
- If you have Admin rights to the shop, login in the admin area
- Go to Plugins (on the left-side menu) and click Add New Plugin from the top left, and then Upload plugin
- Select the archive from your computer in the Add a new plugin area, and then click Install Now
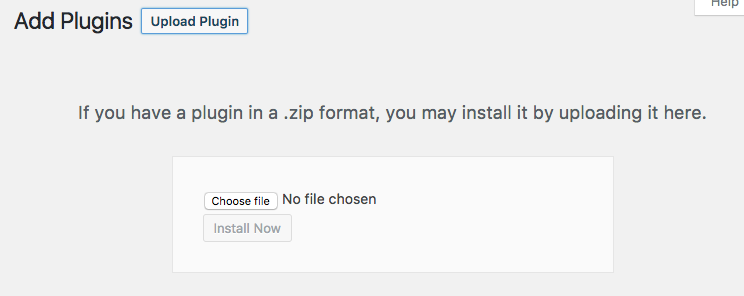
- Your plugin files will be uploaded. Click Install to install it and after successful upload click Activate. It will get you to the next part of this help article
-

2. Install VTMarketing through FTP
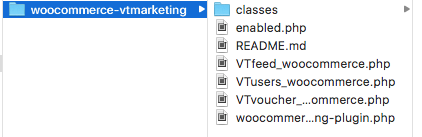
- You need to unarchive the ZIP file. The archive has a root folder called woocommerce-vtmarketing, that looks like this
- Login to your FTP account, go to wordpress root installation, go to wp-content directory and then go to plugins directory
- Upload the entire folder woocommerce-vtmarketing from your computer into plugins folder. Make sure you copy the entire folder, and not it’s contents.
- That’s all. Now go to the next section of this article, the configuration.
Change settings of our Woocommerce marketing plugin
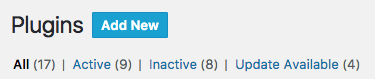
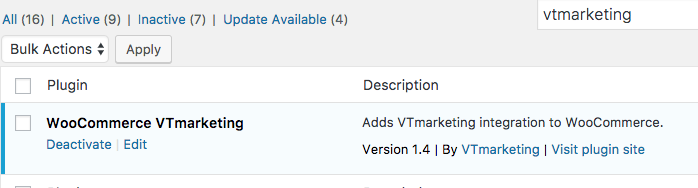
Both methods will add Marketing Automation module to the list of installed WordPress Plugins. You can find it in the list by searching either for VTmarketing in the top right input field.
To edit it’s configuration go to Woocommerce Settings and click Integration Tab, as below.
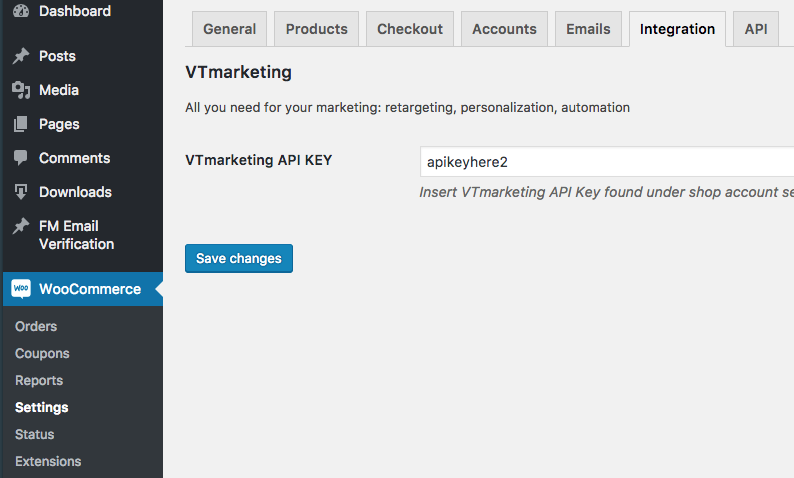
- API Key is used for our server to communicate with your shop in a more secure way
The previous image is a screenshot of our module settings under your Woocommerce admin panel.
Product Feed syncronization
This happens automatically when you save your module settings. Sometimes, depending on the servers and how the setup was done, the sync does not happen. In our Dashboard, go to Setup -> Product Feed -> Parsing and check if the URL is filled.
The URL feed looks like this: https://yourdomain.com/wp-content/plugins/woocommerce-vtmarketing//VTfeed_woocommerce.php?combinations=on&on_stock=off
*Replace yourdomain.com with your domain
*?combinations=on&on_stock=off depends on your shop configuration
Sometimes the product feed URL is not the right one, depending on various system configuration. You can try to load this URL in your browser.
If a “forbidden” message the URL is displayed, otherwise you need to enter the correct one.
Account customization and extra settings
While we’ve tried to make our module work with as many shops as possible, some Woocommerce themes are different. This makes impossible to cover 100% of online Woocommerce themes and maybe even more stores.
To address this issue, which is usually present in the front-end, we allow for customization of element classes and ids that are needed to trigger some actions:
- addtocart and addtowishlist class (on listing page like category or search results)
- addtocart and addtowishlist ID on product page
We call them Extra variables for Javascript integration and you can read more about them here. If you see addtocart/addtowishlist events are not flowing to our system please update those values according to the article.
If you don’t understand how to do it, just get in touch with your account representative.
Done. Marketing Automation for Woocommerce is ready to boost sales!
That’s all. You’re now ready to start increasing sales for your Woocommerce store using our marketing automation integration.
Common issues
In some cases the feed url is not saved or parsed after installing the module, or if you access the feed url in the browser you will see a 403 error.
And the reasons for above mention issue could be:
- Your server configuration is blocking access to the file
- Feed URL is not the correct one