After you finish the segmentation and the email content, you have the possibility to test the campaigns you created. There are two ways of testing, depending on your objectives:
- you can test the whole campaign to see if it is working properly (it is send to the right segment of users, at the right time, it has the right content…)
- you can test the emails to see how they look in your email inbox.
How to start a campaign on test mode
Test mode is the option of testing the whole campaign.
For example, if we want to create a “weekly sale” campaign for the users who subscribed to get sales notifications, then we can see if the email is send to the right users, at the right time without the emails getting to the actual users.
In the Advanced Section you will see the “test mode” option. In order to start the campaign on test mode, you have to enter the email addresses on which you want to receive the emails and then click the following check box.

The campaign will work as usual, but the emails will be sent to this email address instead of real users’ emails.
How to send test emails
Test emails is the option through which you can preview a campaign in your email inbox, before you send it to the users. This way you can see if the design and the content of the email are alright or if they need adjustments.
How do we do this?
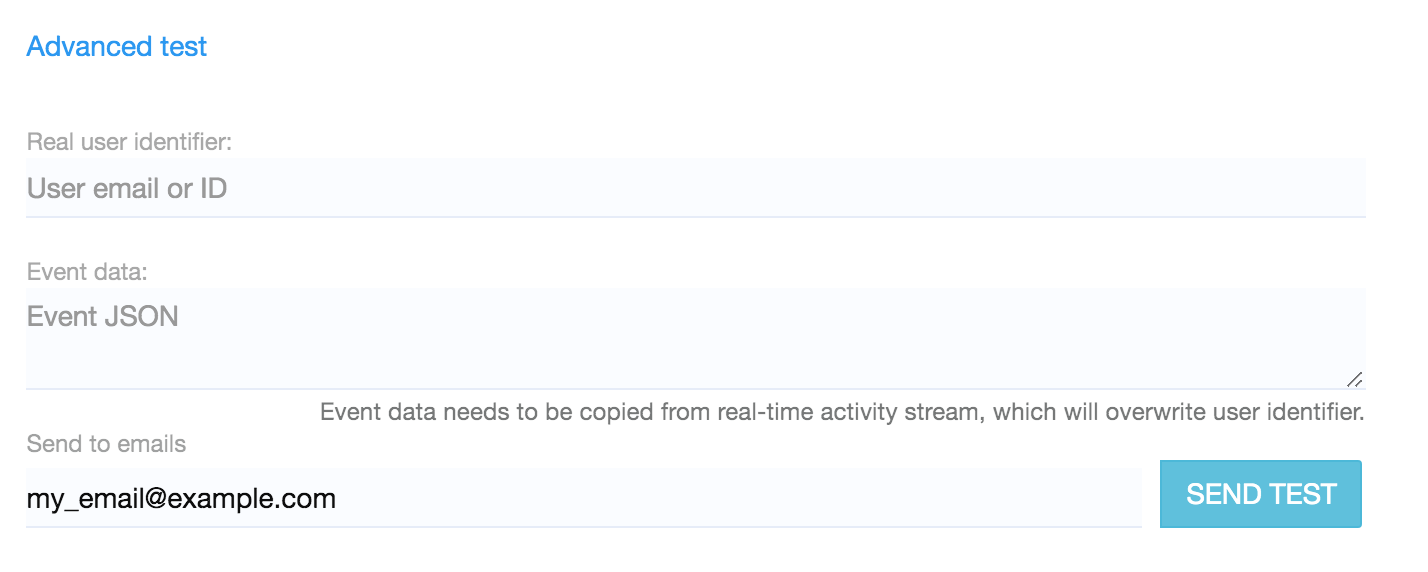
For each content you add, you have the test section in the popup that opens when you edit it. Here you have to enter the email addresses to which you want to send the test email. After that, you only have to click the SEND TEST button and check your email inbox.

Advanced testing
If you want to send a test email that matches a specific user or a specific event (that also includes user information), you can do it by clicking Advanced test link above.

Here you either enter a real user email address or ID, or you copy/paste event data from the live stream activity section.