Transactional campaigns are sent to each user based on their activity (event). In order to create a transactional email you have to set the conditions that will trigger the email or series of emails that is sent.
In your transactional campaign there is a WORKFLOW menu from which you can set the conditions.
Workflow section is divided in 3 parts:
- Trigger Start Event & Conditions
- Delivery timing
- Trigger Stop Event & Conditions
Trigger Start
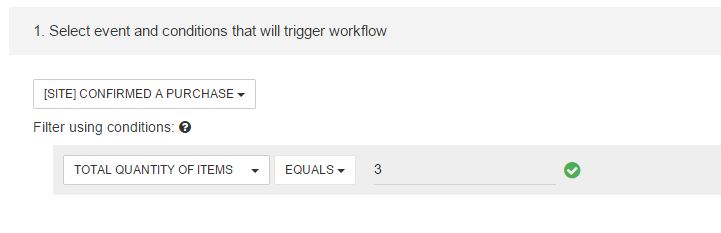
The first section includes the settings that will trigger the emails. In the drop-down menu there is a list of behaviors that the users can have both on the site and on the email. In case you want a more advanced setting, after you choose the condition, you can filter the conditions from the submenu.
For example, if you want to send a voucher to a client who bought 3 products, then the conditions will look like this:
Delivery Timing
Here you set the time when emails will be sent, based on event date or event attribute (which must be a date).
Options are: immediately, insert value and expression.
Also there are conditions on how many emails to be sent, if they come in a row. For example, if the user adds to cart multiple times, the email will be sent based on the time of the last add to cart event.
![]()
Sending based on Expression must be one of the following. Note that failing to provide a valid expression will send the email immediately.
- next [X] [at Y]
Where X must be one of the following values: Monday, Tuesday, Wednesday, Thursday, Friday, Saturday, Sunday. A special case allows to select a day for the next week. Example: next week on Thursday at 11:21
- after [x] days [at Y]
Where X can be any valid integer number: after 3 days
Y must be a valid time, in 24hour format. Eg. 08:23, 20:45
Providing a time does not guarantee sending the email at that exact time, because it depends on many factors: system loading, numbers of emails being scheduled and a few others. We do try our best to send as close as possible.
Valid examples:
- after 1 day at 07:45
- after 16 days
- next week on Thursday at 11:21
- next Friday at 11:00
- Next Monday
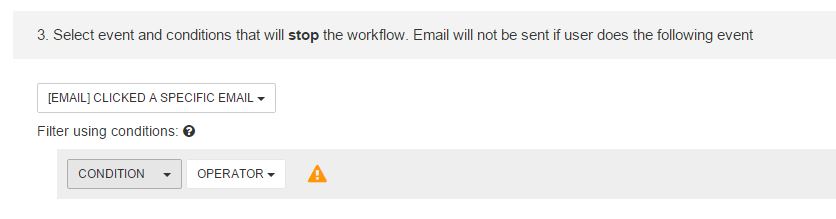
Trigger Stop
The last section is dedicated to the settings that will stop the sending process. The drop-down menu is similar to the one from the first section.
Configure event conditions
Event conditions can filter either start or stop trigger events to match conditions as you set them:
OR defines that at least one condition is set to true, to be considered valid.
AND defines that all conditions are true, to be considered valid.
Conditions for generic events.
Generic event data (for both generic events) that comes along with an event can be filtered using attributes and values. Remember to determine data type for the values you send, as we consider it text/string.
![]()
If you pass lists of objects for your attributes, to filter those you will need to have the following condition:
- attribute_name.object_key
- “items”: [{“title”: “Product 1″,”sku”: “sku 1”},{“title”: “Product 2″,”sku”: “sku 2”}] will be items.title include sku
- we will match the condition across all values from the list.