This article covers how to import existing users into our platform. There are 3 ways to add email addresses into the system, available in Users > Import Users.
Ways to Import Users
- Manually copy and paste emails, one per line
- Import from Mailchimp (requires integration, using a MailChimp APIKey)
- Upload CSV files
All those options are available under Users > Import Users
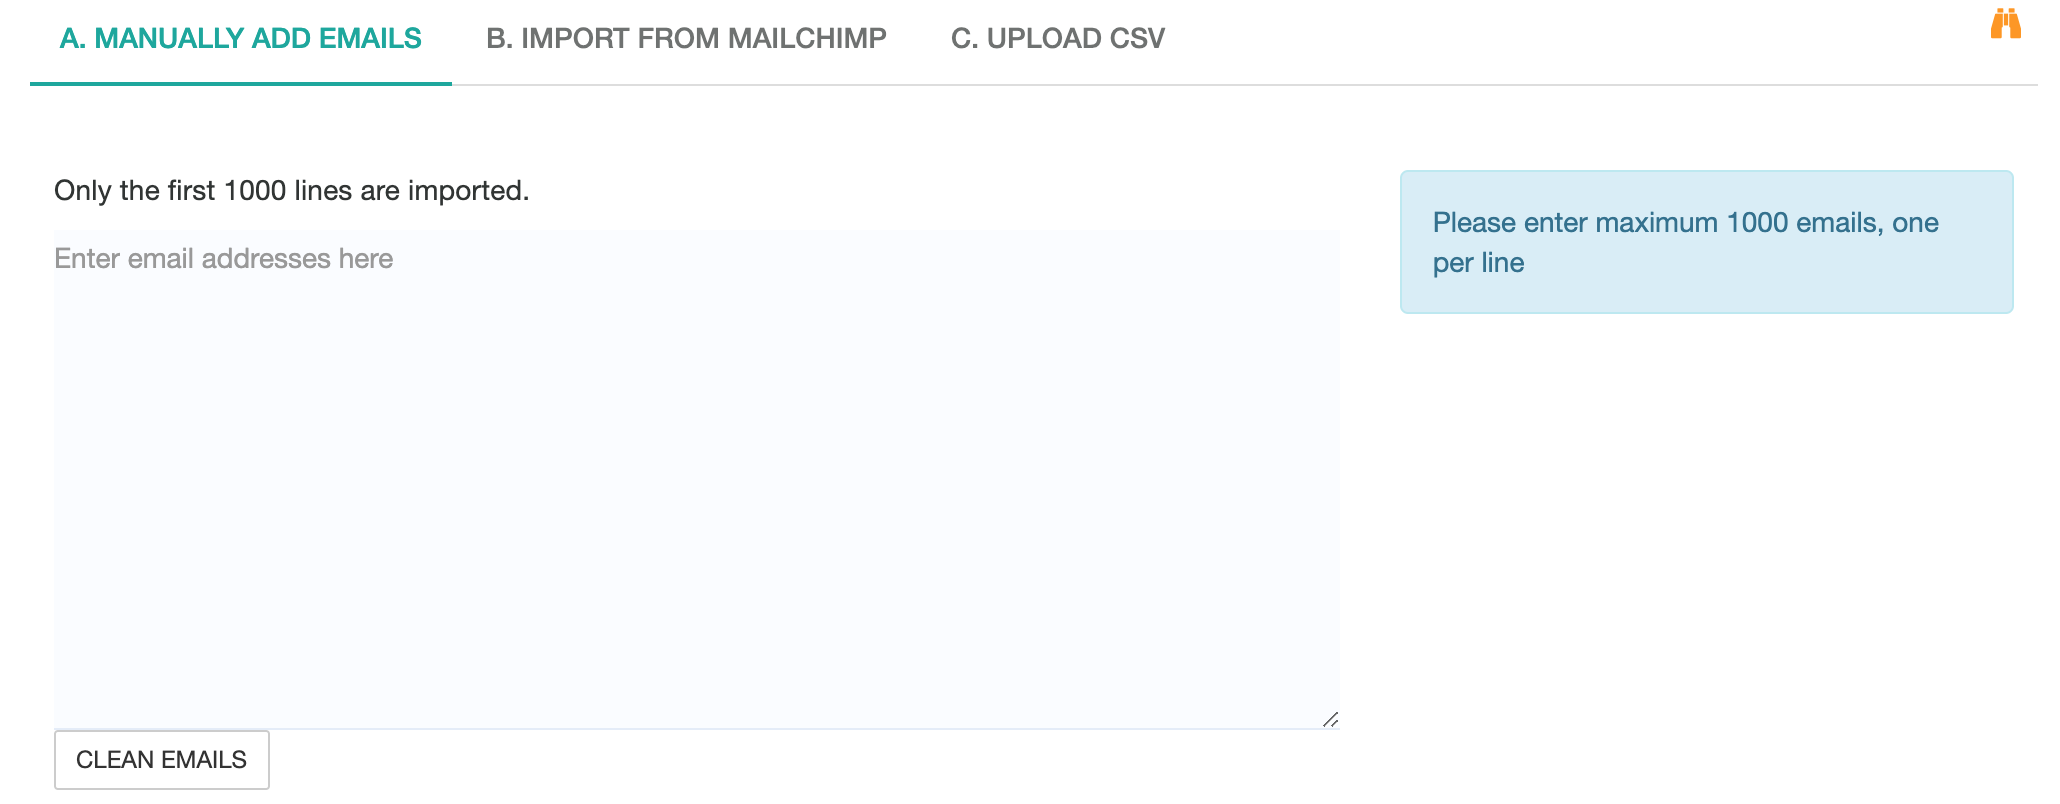
Using Copy Paste
Just copy and paste a list of email addresses, one per line.
Note: make sure the email addresses are valid, and have no typos, like yahop.com
Upload CSV file
If you have a CSV file you can upload it to our system, and also save some other attributes (name, location, gender).
The CSV should contain a header row describing the fields, like below. Make sure it’s encoded with UTF-8 without BOM.
Select the file
Choose your local CSV file and upload it for Import

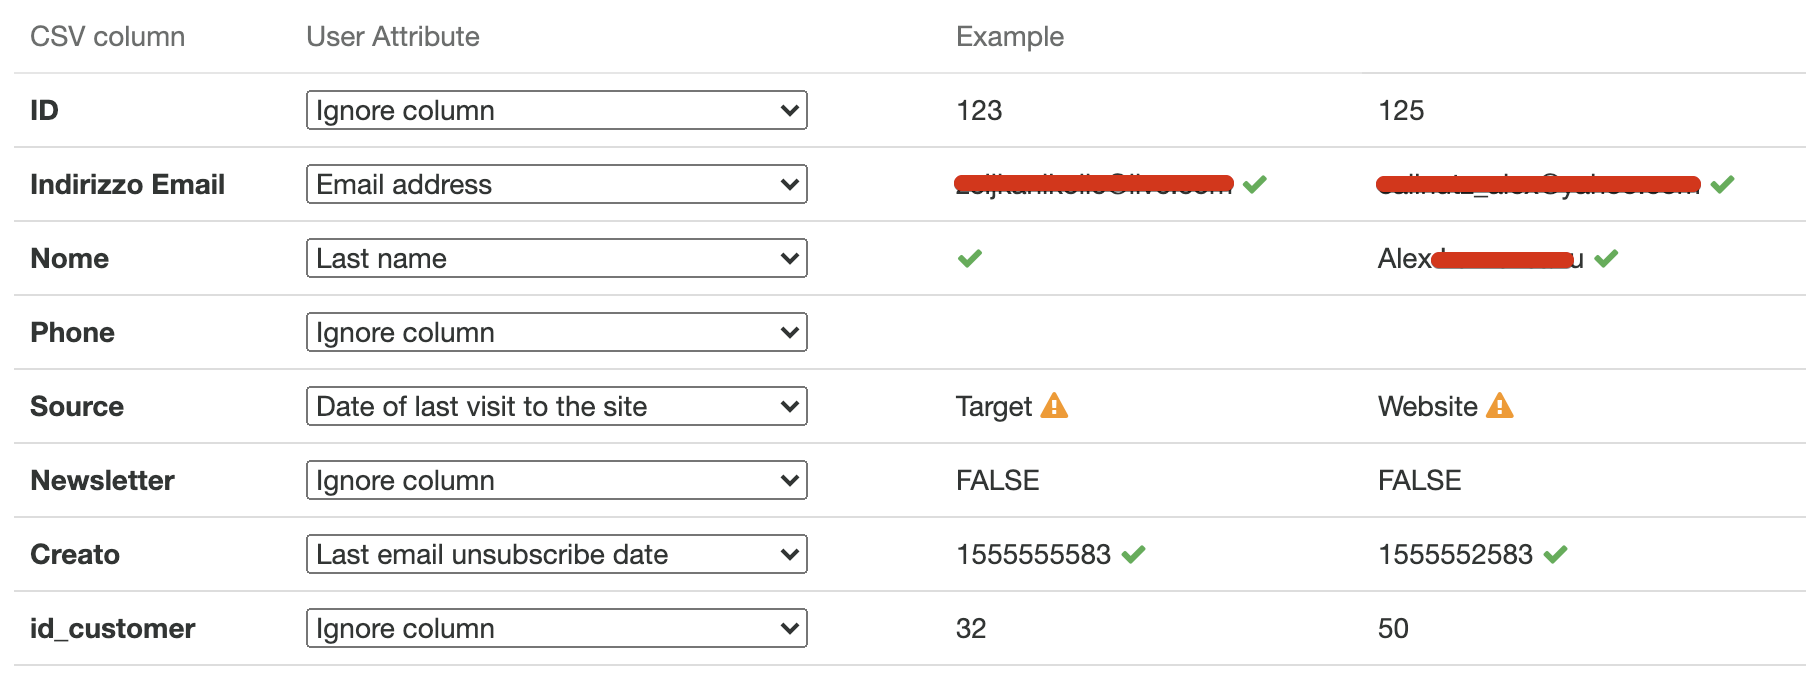
Match CSV columns to user attributes.
We try to determine CSV delimiter used, but you can select the right one.
In the following example we have multiple columns in the CSV, but we will only save Cognome (last name), Nome (first name) and Indirizzo email (email address). All other columns will be ignored.
On the right columns you will see a preview of the first lines available in the file.
Note: large CSV files might take up to 10-15 minutes to be synchronised with our storage systems.
Important:
- File must be encoded as UTF-8.
- Values in the CSV file must be casted to the right value for matching user respective.
- Please use Pre-validate button button to have a first check if data seems valid or not. Look for the warning triangle to make sure you have the right data
- To import dates (like birthdate) please make sure the value is in seconds. If you’re not sure about that check this website: EpochConverter
- Also boolean values can be either true, false, or 0,1
Import Options
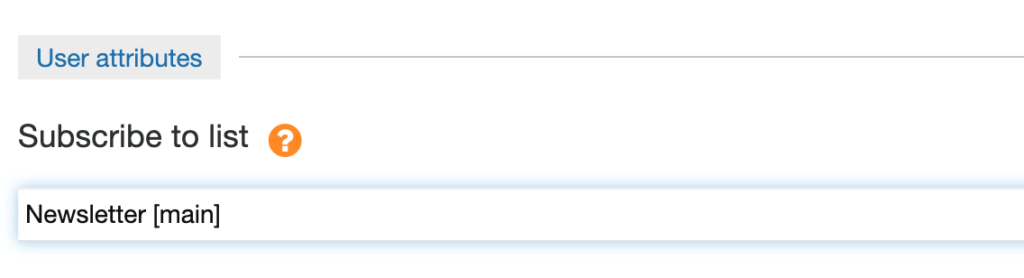
Choose a recipient list (default is main list)
When importing users they will be added by default to your main list. If you want to use a different list you might need to create one first and select that during import
Add/update attributes to imported users
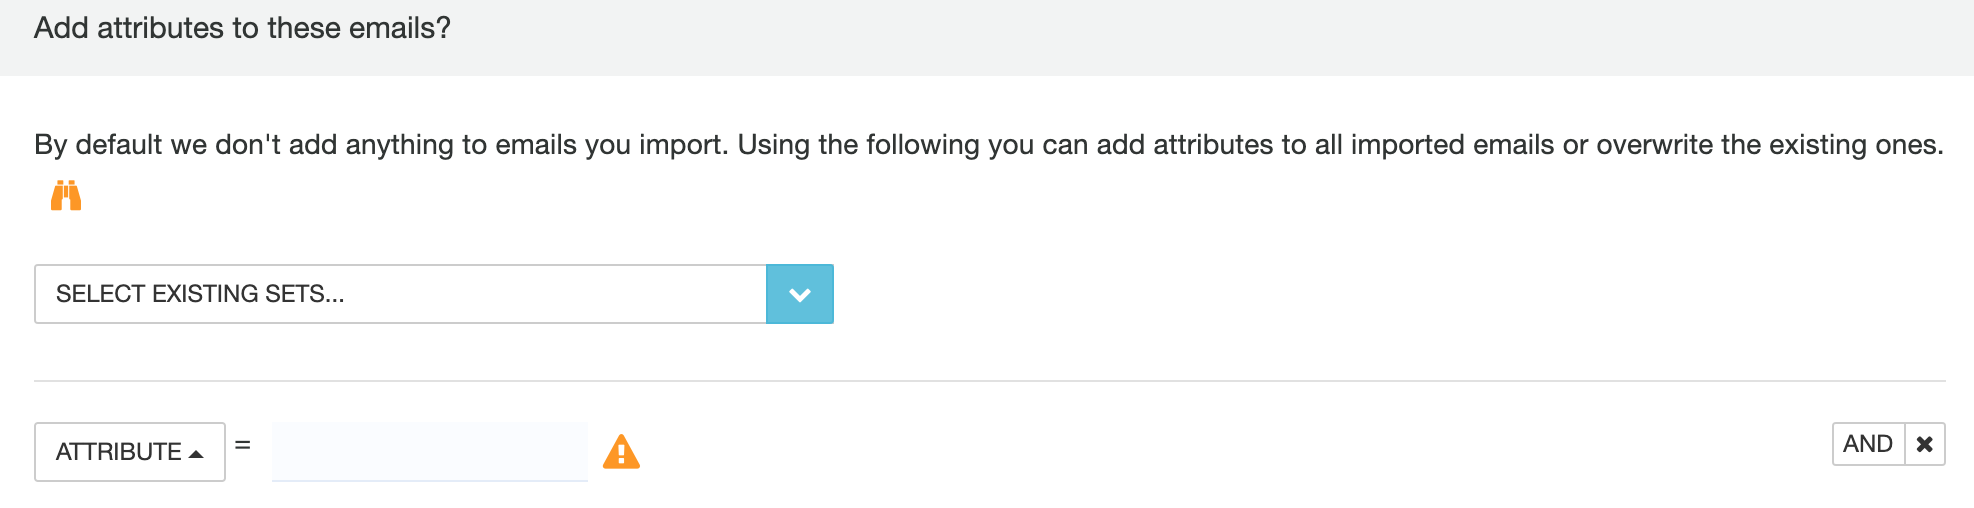
When importing new emails, we only add default values to these emails. You might want to add various values for each import, and here’s how you can do it.
For example you want to subscribe all emails to newsletter, or set acquisition source to a specific value (if you have your emails collected from offline shops).
Note that these values will overwrite any existing ones! Some attributes are not overwritten and will be removed: “createdOn”, “updatedOn”, “email”, “isSpam”, “isHardBounced”.
Note: when importing users and set isSubscribed true, existing users who previously clicked isSpam or hard bounced will not be updated to true!
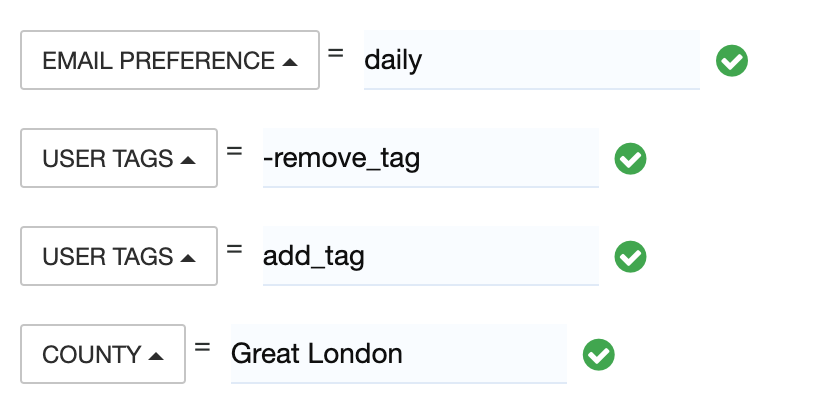
You can save these new attributes as a set to add them later with another import.
Examples:
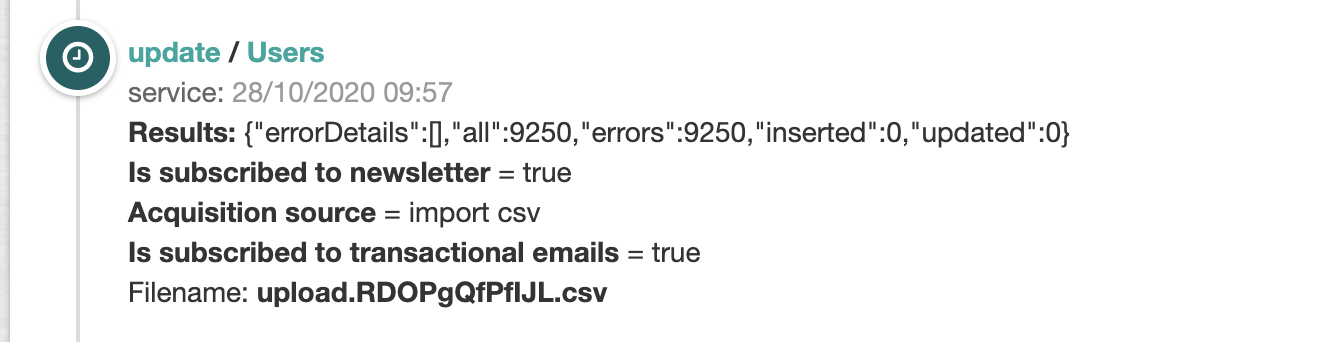
Check import results
Imports done asynchronously are reported by email and inside Account History. If you need to see the results of the import you can go to your Account History where you’ll have entries like the one below: