This article will guide you through the setup of push notifications delivery from your own domain.
Requirements:
- HTTPS website (if you don’t have all your domain using ssl this will not work)
- your URL’s should start with https:// . All other http:// only should redirect to the https:// version
- Access to upload files to your server (FTP, SSH or anything)
- Able to edit html files on your website
Using default integration
We provide automated setup and you don’t need to upload any files for the following platforms:
- Magento 2.x
- Shopify
- Prestashop
- WordPress
- Woocommerce
For the rest of platforms please follow the guidelines on this page.
Download and edit files
Download files for your server from Setup->Webpush. It includes a scripts required to activate the push notifications.
File content should look similar to this one.

Uploading files
Upload the files to your domain. After upload the .js file should be publicly accessible like:
- https://yourdomain.com/push_worker.js
If you do not upload it in the root location like above, copy the path to your file and save it under webpush setup.

Order of loading the push worker. As mentioned, this file must exist on your server. Some of our integration modules offer this file and gets loaded automatically.
The order our JS pixel checks is the following:
- value set under account settings (Setup > Webpush)
- Javascript variable _vtpush_worker
- default value (push_worker_<instance>.js)
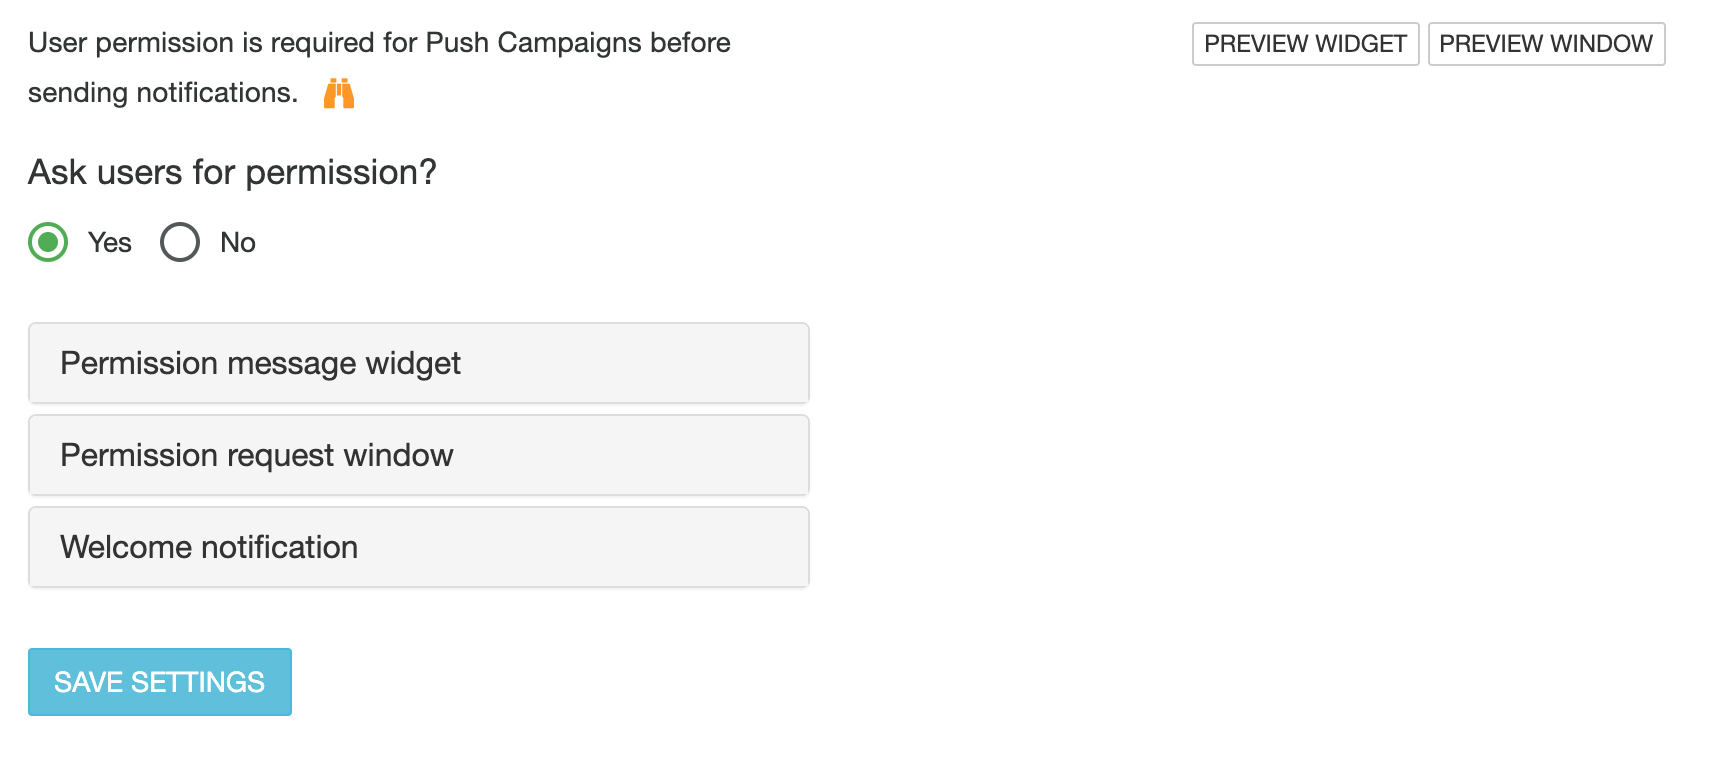
Enable Webpush from dashboard
From Setup -> Webpush you can enable push notifications asking users for permission and configure the messages.
This feature works similar to an interaction campaign, therefore you might need to Purge cache to quickly see changes.
You can Preview the permission widget by clicking Preview Widget on the right.