Our application allows you to send your emails via your Amazon AWS account. For this, you need to setup your Amazon Simple Email Service (SES) configuration. Optionally, you may also configure Amazon Simple Notification Service (SNS) in order to get feedback on your email campaigns.
Note: This article assumes you have a working Amazon AWS account and have basic knowledge on updating your domain’s DNS settings. If this does not apply, please don’t hesitate to contact our support team in order to help you if needed.
Setting up Amazon SES
Setting up your domain’s DNS settings
- Login to your AWS account.
- Go to the SES Home dashboard.
- Click the Verify a New Domain button.
- Fill in the Domain field with your domain name and check the Generate DKIM Settings box.
- Click Verify This Domain.
- Next, you need to modify your domain’s DNS settings by creating the first 4 DNS records specified in the opened pop-up (1 TXT record and 3 CNAMEs).
- Optional: Also add the MX record specified if you plan to also receive the e-mails via Amazon SES.
- Optional: You may complete this step at a later time. You can find the required settings in your Domains list, by clicking your domain name and expanding the Verification and DKIM fields.
You may find additional information on the official AWS documentation for verifying domains.
Generating your SMTP credentials
This step is required only if you didn’t previously create a user for use with the SMTP service. You may find the list with your IAM users here after logging in to your AWS account.
Important: The SMTP credential are different from the AWS access key ID and secret access key. Our application does not need full access to your AWS account for security reasons.
To create a new set of SMTP credentials, continue as follows:
- Login to your AWS acccount.
- Go to the SES Home dashboard.
- Open the SMTP Settings page.
- Click Create My SMTP Credentials
- Accept or change the IAM User Name.
- You may see the permission policy that will be granted to the generated user by clicking the Show more information link.
- Click the Create button
- Either copy the generated credentials (hidden below the Show User SMTP Security Credentials) or click the Download Credentials button. These will be required for setting up your email account with our application.
You may find additional information on the official AWS documentation for generating SMTP credentials via the SES console.
Connecting SES with SNS topics
SNS Topics are messaging mechanisms that are being used as SMTP hooks. You need to configure SES as follows in order for our application to receive feedback on email sending process and spam or bounce reports.
Important: Skipping this step prevents our application from correctly marking users as bounced or spam. This may lead to a decrease in your AWS account SES reputation and may even lead to its permanent deactivation.
- Login to your AWS account
- Go tot the SES (Simple Email Service) Home dashboard
- Open the Domains page
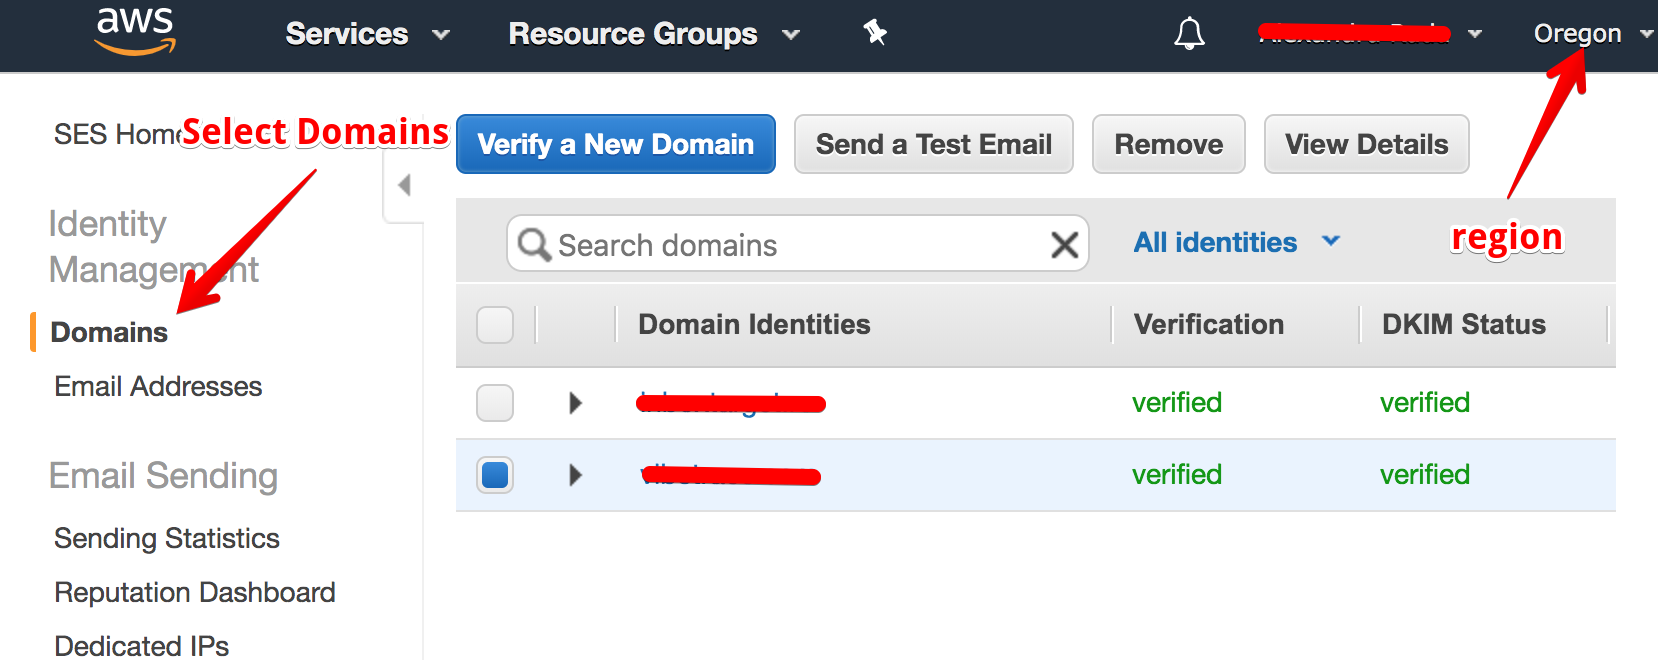
- Click on your domain’s name or select it and click View Details
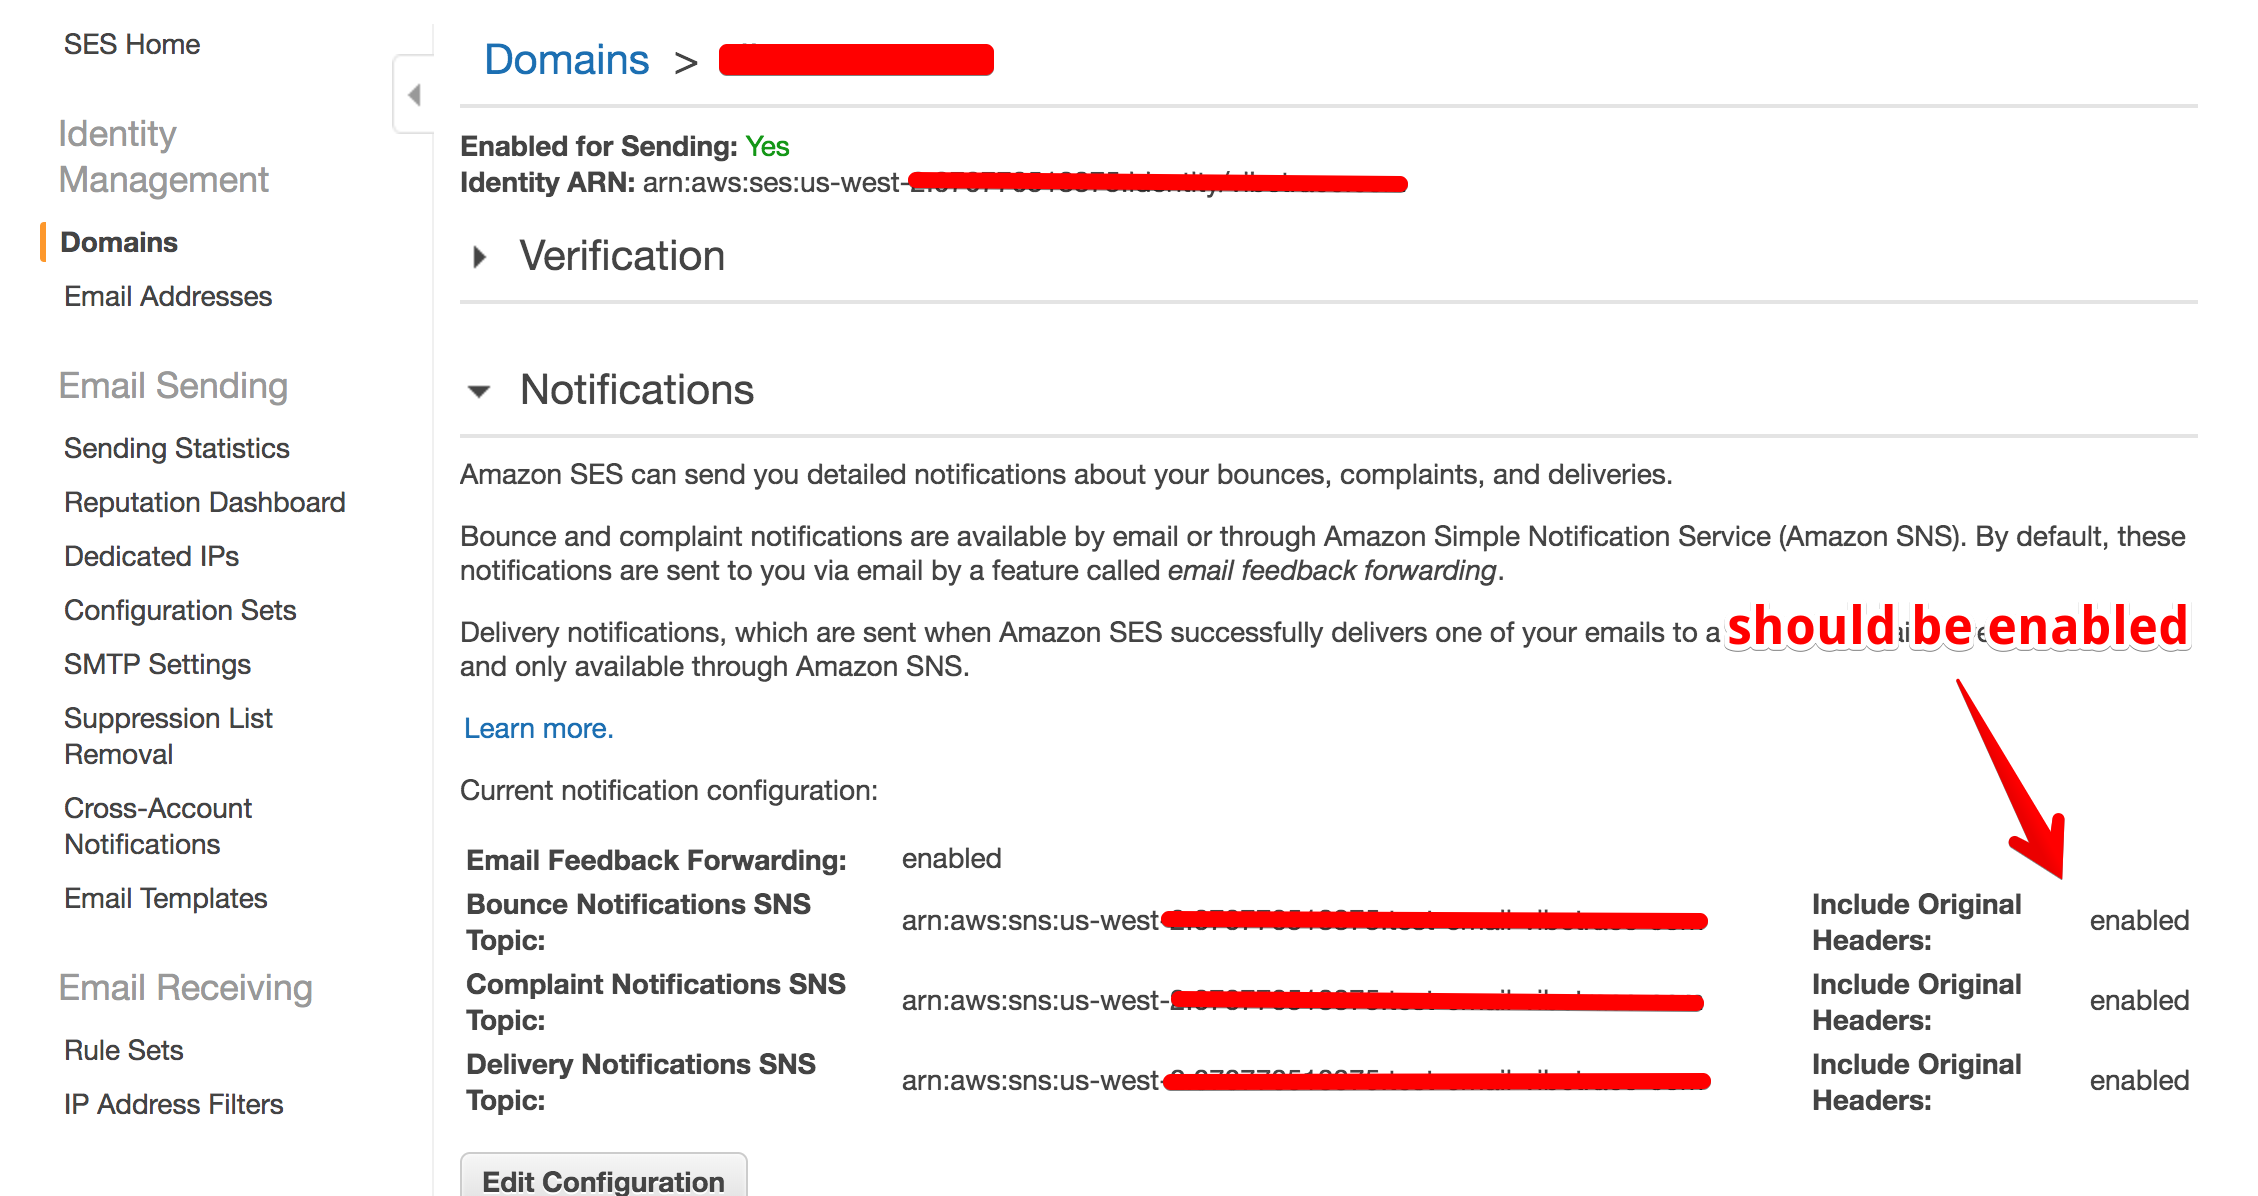
- Expand the Notifications field
- Click the Edit configuration button below the Notifications field. Here you have several options you may take in account:
- Use an already existing SNS topic:
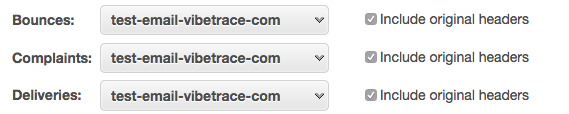
- Select the existing SNS topic for each of the 3 fields (Bounces, Complaints and Deliveries) and check “Include original headers” for all
- Create a new SNS topic:
- Click the Click here to create a new Amazon SNS topic link
- Fill in the Topic Name and Display Name with anything (can be your domain name)
- Click the Create button
- Going back to your Notification settings, select the newly created SNS topic for each of the 3 fields (Bounces, Complaints and Deliveries)
- Make sure “Include original headers” are checked.
- Use an already existing SNS topic:

-
- Contact us to check if we are able to provide you with one of our existing SNS topics, but should be easy to make one yourself..
- Select the SNS topic you do not own option from each of the 3 fields (Bounces, Complaints and Deliveries)
- Fill the SNS Topic ARN field with the complete name of the SNS topic we provide
- Contact us to check if we are able to provide you with one of our existing SNS topics, but should be easy to make one yourself..
You may find additional information on the official AWS documentation for configuring SMTP notifications via the SES console.
Configuring your SNS topics
This step is mandatory if you use a previously existing SNS topic or you created a new one.
- Login to your AWS account
- Go to the SNS home dashboard
- Open the Topics page
- Select the ARN field of the topic you want to use
- Click the Create Subscription button.
- Select either HTTP or HTTPS (however it suits your business) from the Protocol field.
- Fill the Endpoint field with https://webhook.vtcdn.net/amazonses
You may find additional information on the official AWS documentation for using Amazon SNS.