Our app is offering you the possibility to create on site interactions which you can edit by using the Interaction Editor.
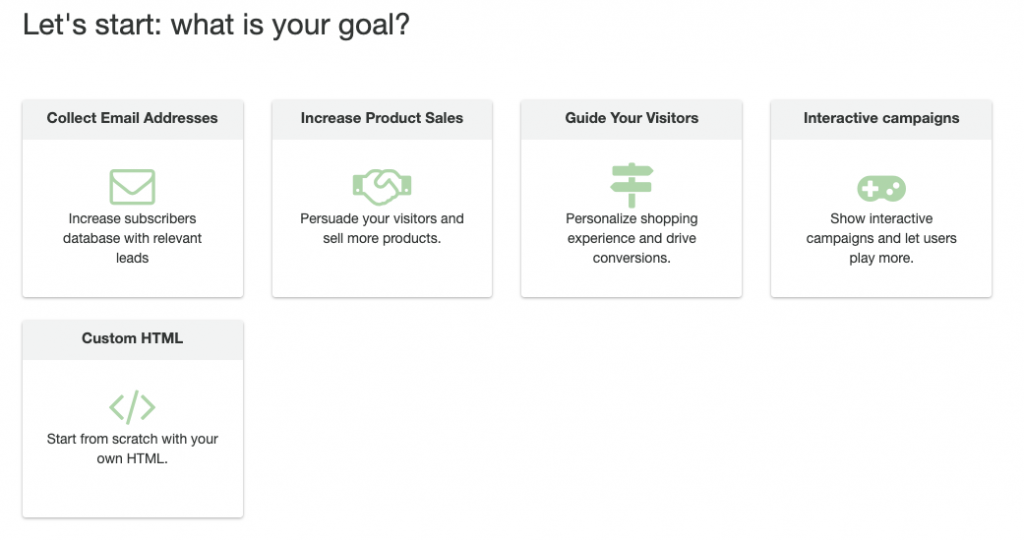
1. Choose the interaction type
Once you created a campaign, you will have to choose between your objective:
- Collect Email addresses and other type of data
- Increase product sales with product interactions
- Guide your visitors to the desired pages
- Interactive campaigns that will engage users.
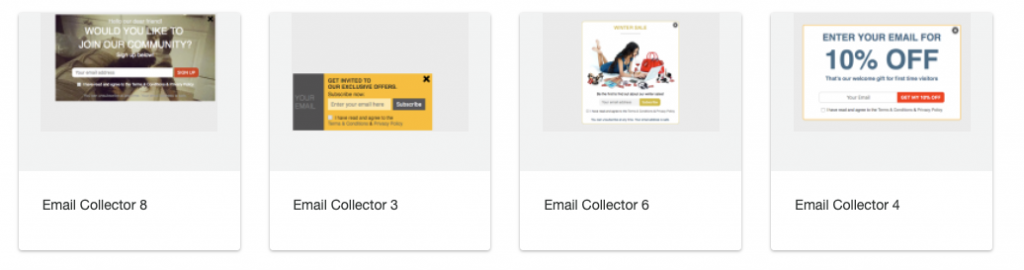
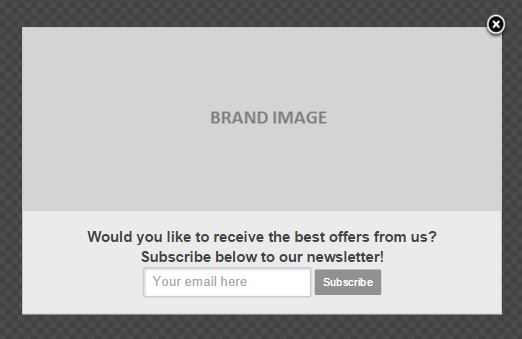
2. Choose a predefined design for your goal.
For each objective we have created templates you can start using right away.
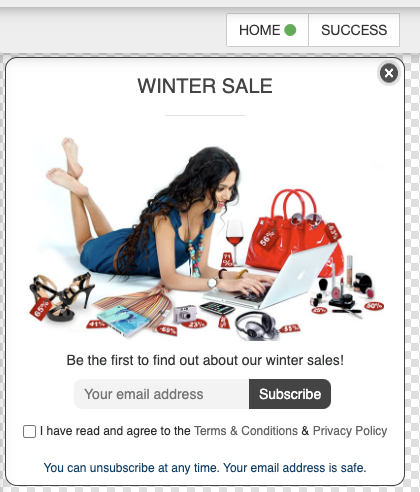
3. The interaction visual editor
Once you choose one of the designs, the visual editor is displayed.
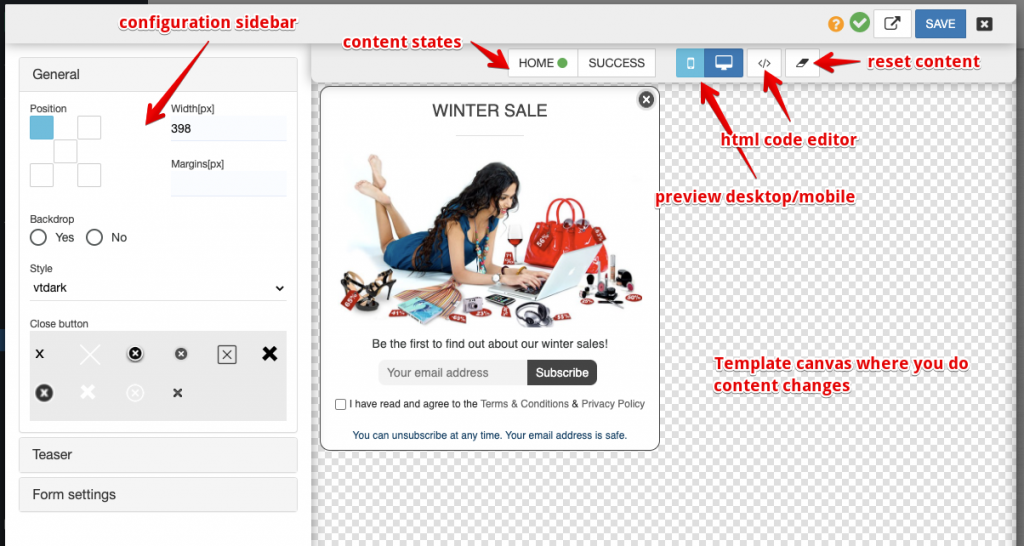
Overall sections are described in the image:
- Editor canvas: content appears here and you can change texts, images or other elements
- Configuration sidebar: easy change design or style regarding the content
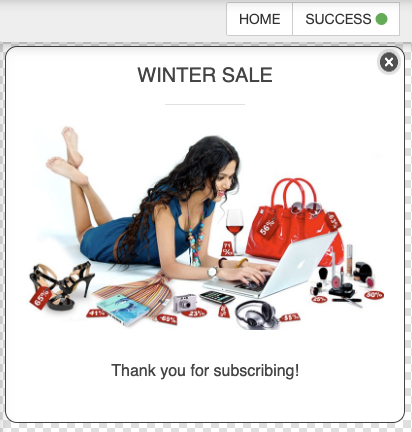
- Content states: switch between content states, for example edit Thank you message
- Preview buttons: display mobile or switch back to desktop version
- HTML code editor: if you are comfortable editing HTML you can do it from here.
- Reset content: start again from choosing campaign objective.
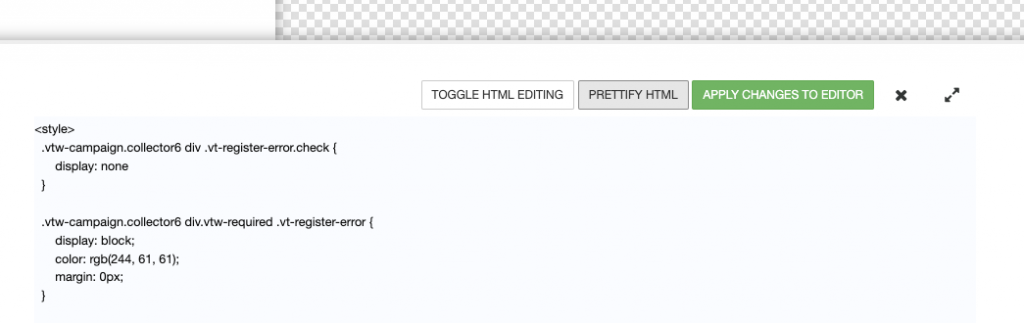
HTML editing
In case you want to edit the HTML code, you can do this by clicking the CODE button from the upper left of the pop up.
A bottom drawer will appear and you can make changes manually. Click apply changes in order to view them in the editor.
States selection
If you are using a data collector or a content that has multiple states, you can edit those using the buttons at the top of the canvas:
Content Editing
Clicking content elements inside the canvas will allow to change it:
- text
- links and buttons
- submit buttons
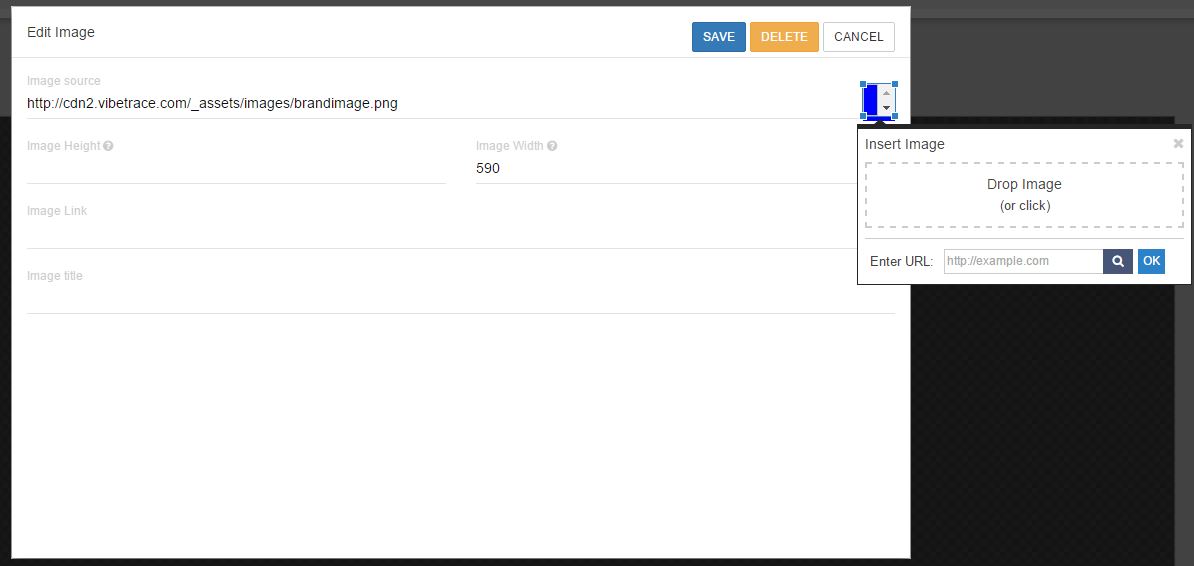
- images
- background image for campaign
The editing of an image is made by clicking the space dedicated to images. A pop-up will show up and from here you can upload your own images, enter an URL and set their size.
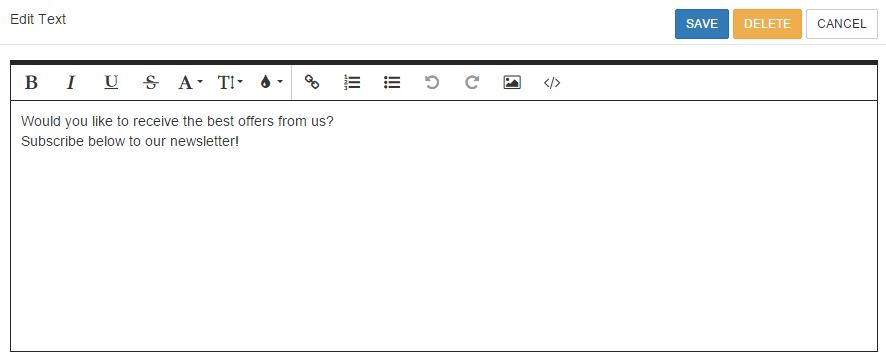
The editing of the text is made by clicking the “Edit text” button. Once you click the button, a pop-up will show up and from here you can edit your text by using the existing options or you can edit it in HTML by clicking the “</>” button.
The editing of buttons is made by clicking the button itself. A pop-up will show up and from here you can give it a name and set an attribute if it’s necessary. For example, if you want to create two buttons, one for women and one for men, you can choose the Custom gender attribute and set the attribute value as woman/man.
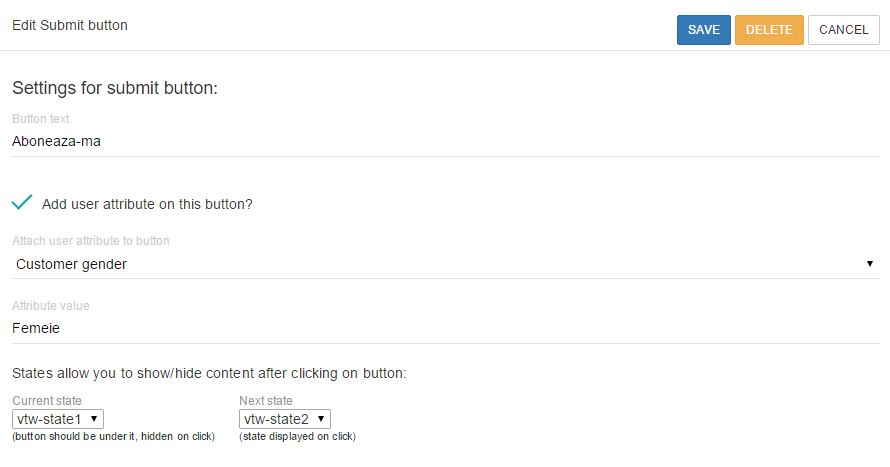
Current state is referring to the actual state of the email collector, and next state is referring to the state of the pop-up after the user clicks the button.